Setup AWS SSO
Configure AWS CLI
- Install AWS CLI at https://docs.aws.amazon.com/cli/latest/userguide/getting-started-install.html
- Choose the local profile name that you want. I recommend to use this convention:
carem-<account>-<role>Example:carem-incubator-sre,carem-incubator-engineer - Run command
aws configure sso --profile <profile_name>and fill parameters if required:
SSO Session Name: # not set
SSO start URL: https://carem.awsapps.com/start
SSO Region : ap-southeast-1
CLI default client Region : ap-southeast-1
CLI default output format : json
- AWS CLI will open browser. Login with your AWS SSO account and press Sign in to AWS CLI => Press Allow
- Back to terminal, choose correct role that you want to configure
- To verify, run command:
aws sts get-caller-identity --profile <profile_name>, if you configure correctly, you will receive the response:
{
    "UserId": ".......",
    "Account": ".......",
    "Arn": "......."
}
info
Remember: Your SSO session will expire every 12h. You must login again after expired.
info
You can create many AWS Profiles. Each profile is equivalent to a SSO Role
Login AWS CLI with AWS SSO account
Run command aws sso login --profile <profile_name> to login to aws cli with config above.
Access to AWS Console
- Go to https://carem.awsapps.com/start
- Login with your company email
- After login successfully, you can see all role that you have.
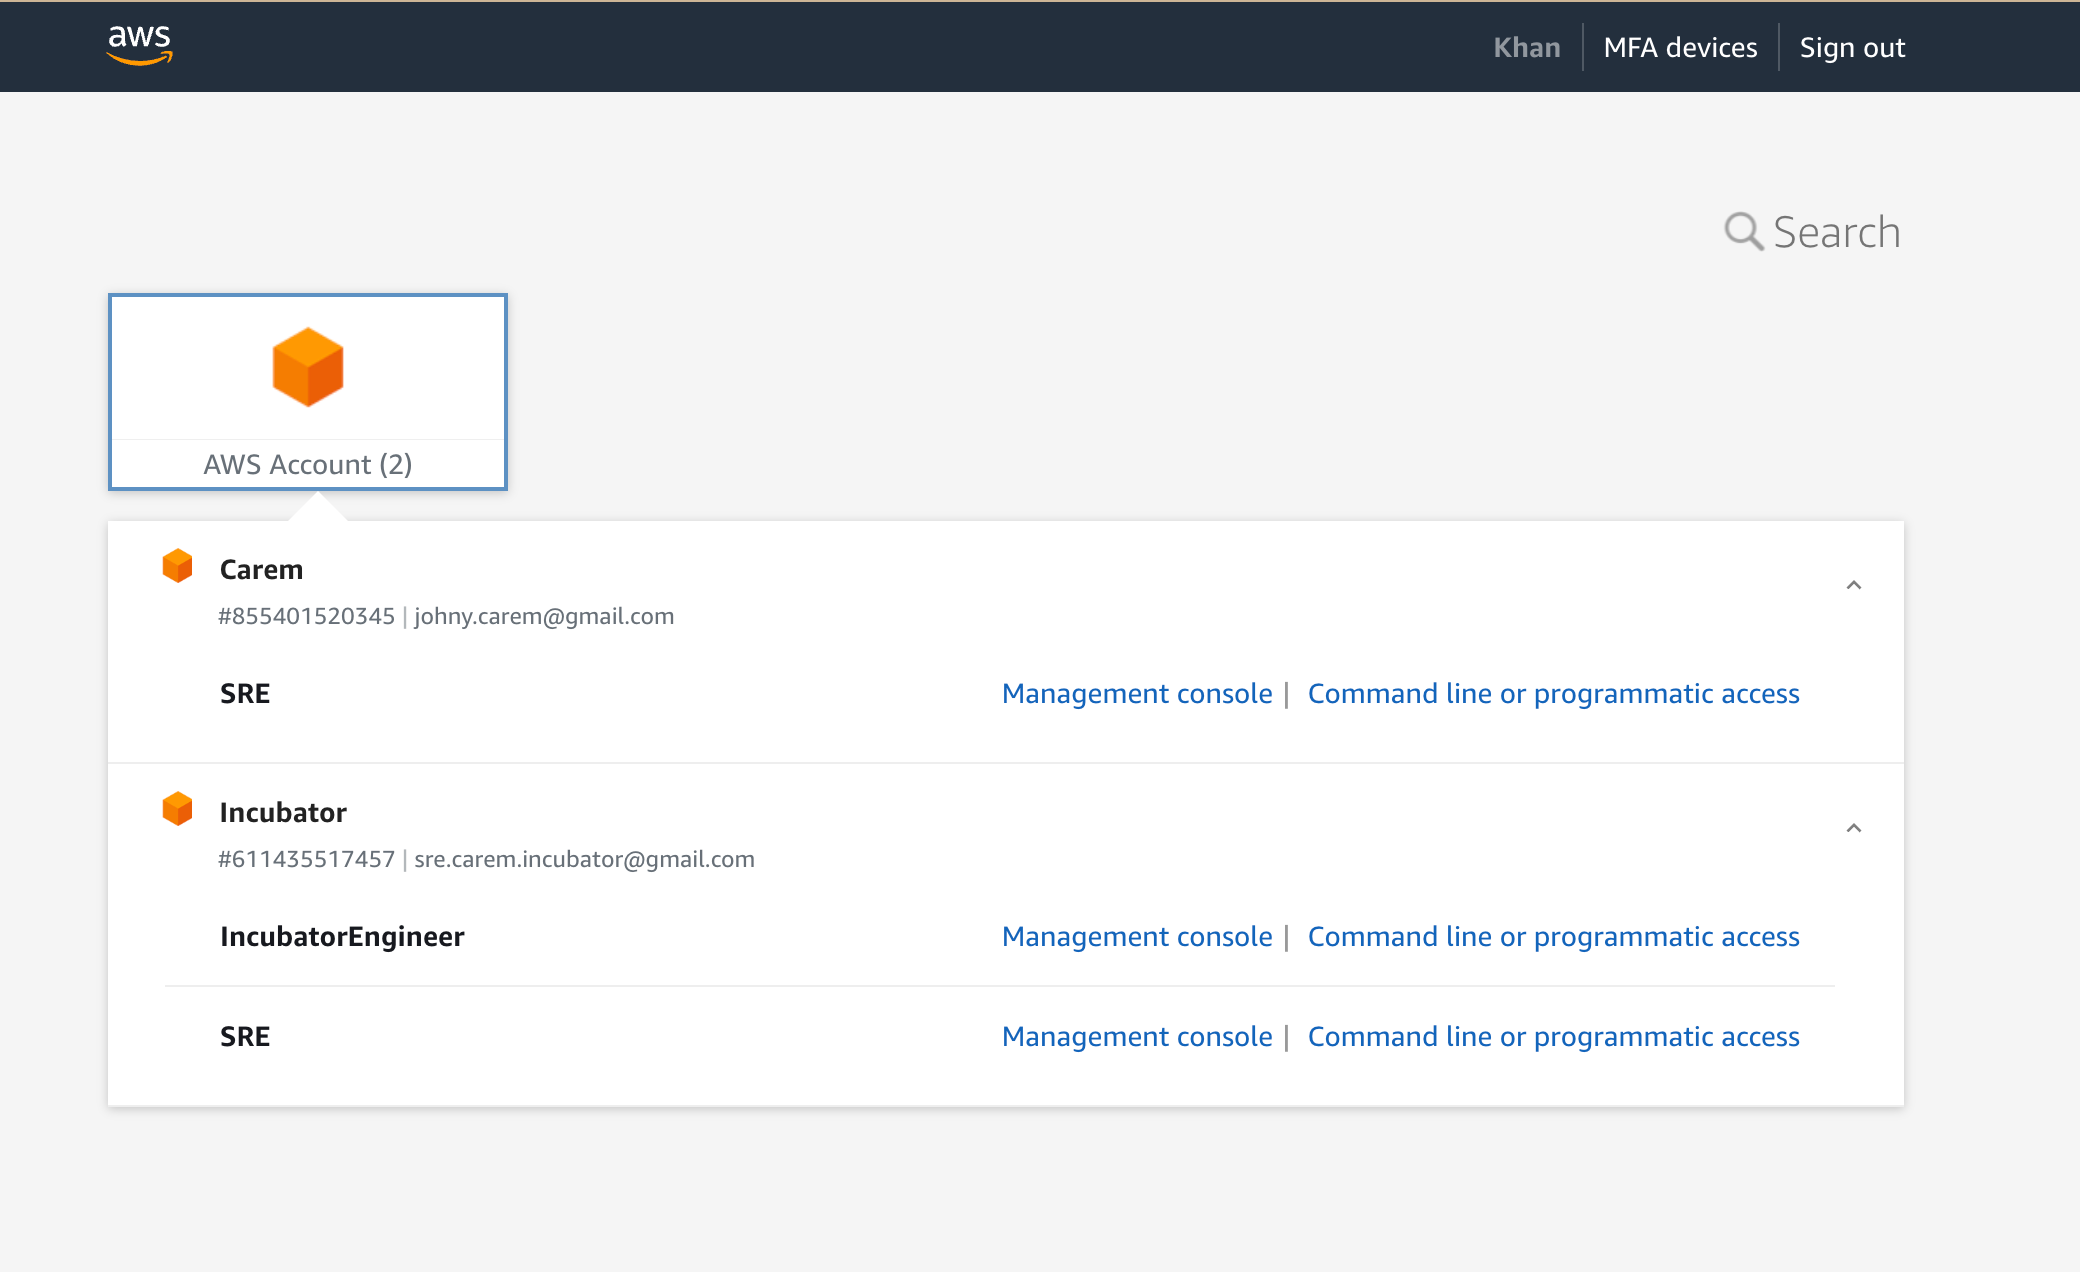
- Click Management console to access AWS Console